
Scripting 101
Mattercraft makes it possible to build more complex interactivity and states into experiences using script nodes.
As well as providing templated custom behaviors, components, and contexts, you may write your own JavaScript and TypeScript scripts from scratch.
See Mattercraft’s full API documentation here.
It shouldn’t take long to get up to speed with the Mattercraft syntax, especially with previous web programming experience. In any case, it’s possible to create interesting interactive experiences using only a minimal amount of scripting.
Creating a Script
Section titled “Creating a Script”Scripts can be added by clicking on the + (plus) icon found at the top right of the Left Menu. You can also add custom Behavior Actions from the Behaviors Panel.
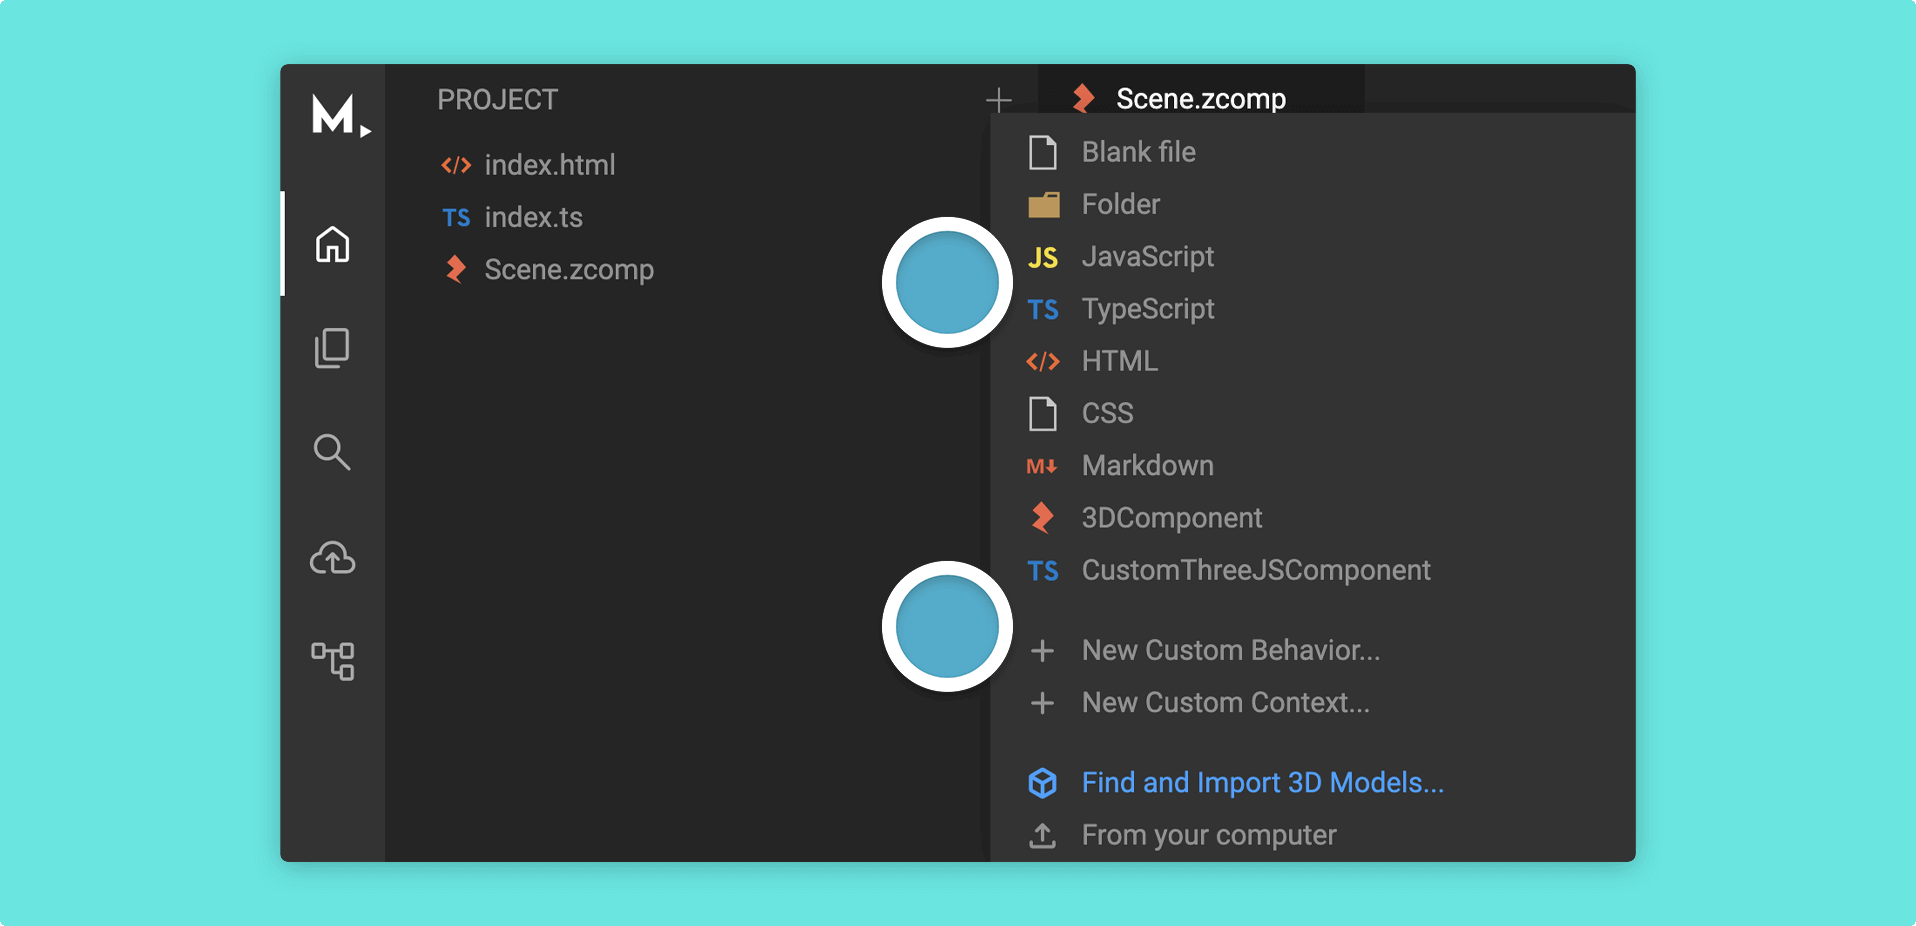
You can either create a blank script or select a templated one:
Double clicking on a script file in the Left Menu will reveal its code in the central area of Mattercraft. You can also right click on the script file and select Open to the side to open your script in a new tab in the editor. This will allow you to see both your zcomp (Scene) and script at the same time.
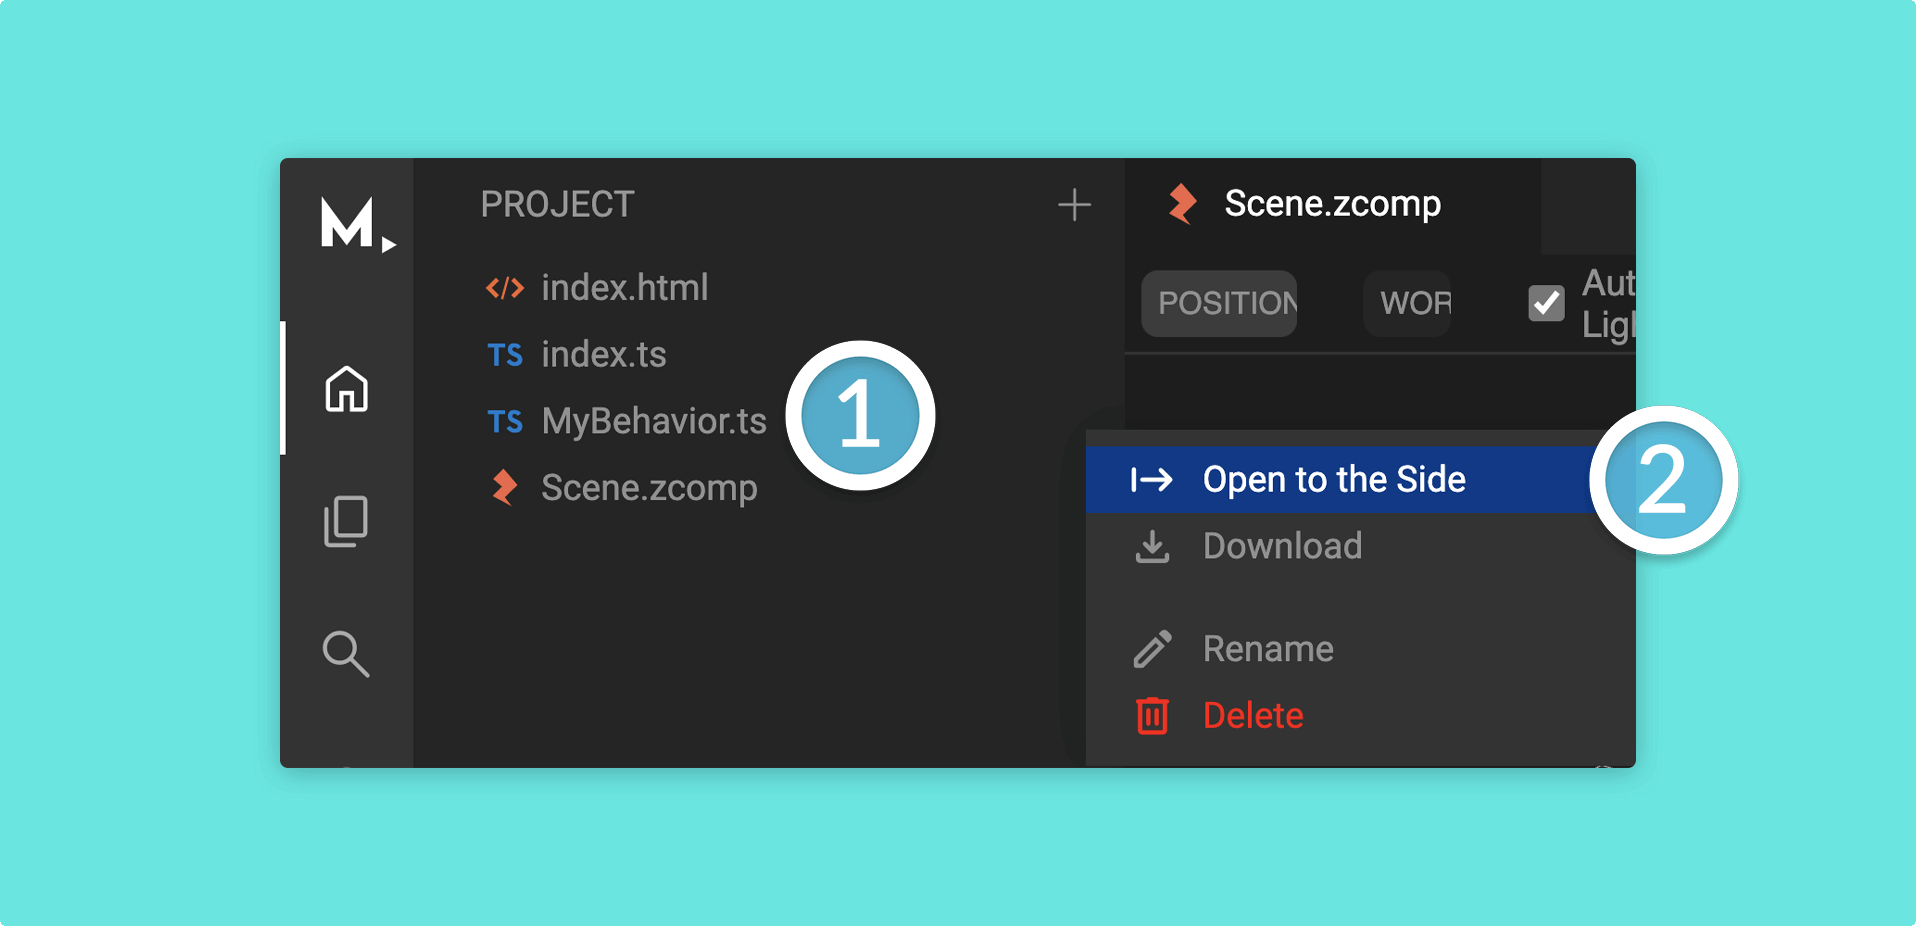
If you created a blank script, that script will be empty and ready for you to type your own code. If however you decided to choose one of the templated scripts, that template will provide helpful comments to show you how to use it.
Script Node Basics
Section titled “Script Node Basics”Different node types can trigger different events. As such, you will get different options depending on the node.
As Mattercraft leverages Monaco, the excellent text editor from Visual Studio Code, the script editor will provide relevant suggestions for you based on the node and context.
In this example, an onPointerDown event handler is added to a behavior. This event will then be triggered when the user taps on a component that has this behavior:
import { Behavior, zBehavior, zRegister } from '@zcomponent/core';
@zBehavior({ icon: 'touch_app' })export class MyBehavior extends Behavior<Box> {    @zRegister('onPointerDown')    private _handlePointerDown() {        console.log("Hello World!");    }}
Let’s explain this example.
| Script | Explanation |
|---|---|
@zBehavior() |
Registers this class as a behavior in Mattercraft. |
@zRegister('onPointerDown') |
Listens to the onPointerDown event on the node this behavior is attached to. |
private _handlePointerDown() |
The method that runs when the event is triggered. |
console.log("Hello World!") |
Sends a message to the console log. |
this.instancewill target only the node(s) this behavior is attached to, whilstthis.zcomponent.nodeswill search through your project to target a node which may or may not have this script attached to it.
Changing the properties of a Node
Section titled “Changing the properties of a Node”It’s possible to change the properties of nodes in the Hierarchy from within scripts.
Dragging a node from the Hierarchy or Animations panel into the script will create a variable that can be used to access and modify the node.
In this example, the color of a box node is changed.
import { Behavior, zBehavior, zOnStart } from '@zcomponent/core';import { Box } from '@zcomponent/three/lib/components/meshes/Box';import Scene from './Scene.zcomp';import * as THREE from 'three';
@zBehavior({ icon: 'palette' })export class ChangeColorBehavior extends Behavior<Box> {    protected zcomponent = this.getZComponentInstance(Scene);
    @zOnStart()    private _changeColor() {        // Create a new three.js material that is colored red        const red = new THREE.MeshBasicMaterial({ color: 0xff0000 });
        // Get the box component and set its material to the one you created        this.zcomponent.nodes.Box.element.material = red;    }}
Let’s explain this code.
| Script | Explanation |
|---|---|
const red |
Makes a variable called ‘red’. |
new THREE.MeshBasicMaterial({...}); |
Creates a new MeshBasicMaterial material. |
color: 0xff0000 |
Defines the color to be used, in this case #ff0000, which is red. |
this.zcomponent.nodes.Box |
Gets the box node. |
.element.material |
Tells the script to modify the material property. |
= red; |
Sets the material value to whatever is defined in the red variable. |
Colors can be expressed in a three.js supported method, such as Hexadecimal (recommended), RGB string, X11 color name or HSL string for example.
The Frame Loop
Section titled “The Frame Loop”When 3D experiences run in an end user’s browser, the 3D engine will draw, or ‘render’, the 3D scene up to 60 times every second. This is known as the Frame Loop. You may wish to run a script before each render frame, perhaps to implement a custom animation, or to perform a node transformation.
To run code before each render frame, use the @zOnBeforeRender() decorator on a method in your behavior or component.
Frame Loop in a Behavior
Section titled “Frame Loop in a Behavior”import { Behavior, ContextManager, zBehavior, zOnBeforeRender } from '@zcomponent/core';import { Box } from '@zcomponent/three/lib/components/meshes/Box';import Scene from './Scene.zcomp';
@zBehavior({ icon: 'favorite' })export class MyBehavior extends Behavior<Box> { protected zcomponent = this.getZComponentInstance(Scene);
@zOnBeforeRender() private _update(deltaTime: number) { // This code is run every render frame // deltaTime is the number of milliseconds since the last frame }}Frame Loop in a Component
Section titled “Frame Loop in a Component”import { ContextManager, zComponent, zOnBeforeRender } from '@zcomponent/core';import { Group } from '@zcomponent/three/lib/components/Group';
@zComponent({ icon: 'favorite' })export class CustomThreeJSComponent extends Group {
constructor(contextManager: ContextManager, constructorProps: {}) { super(contextManager, constructorProps); // ... }
@zOnBeforeRender() private _update(deltaTime: number) { // This code is run every render frame // deltaTime is the number of milliseconds since the last frame }}Frame Loop Summary
Section titled “Frame Loop Summary”| Decorator | Description |
|---|---|
@zOnBeforeRender() |
Called every frame before rendering. The method receives deltaTime in milliseconds. |
@zOnAfterRender() |
Called every frame after rendering. |